
Blooming
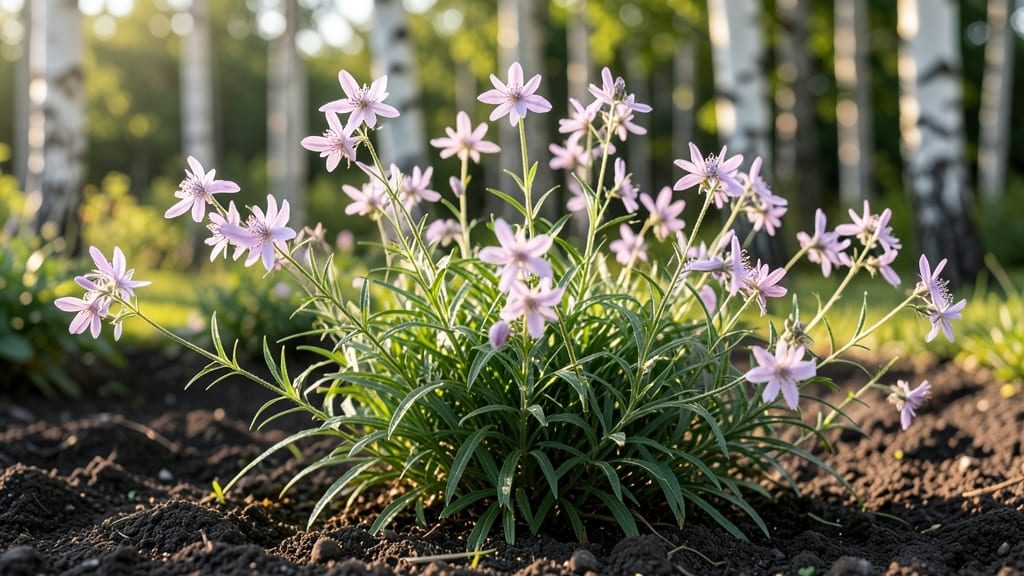
The gaura bloom time stretches from late spring through frost, offering weeks of delicate, airy flowers that dance in the breeze.
Wondering why your gaura plants seem to take a break between blooms—or how to coax them into a second flush of delicate, airy flowers? Understanding gaura bloom time and the role of deadheading is the secret to maximizing their seasonal display.
In USDA Zone 6a, where spring planting kicks off in March, gaura typically bursts into bloom by late May, continuing until the first frost in October. But with the right care—like strategic deadheading and proper sunlight—you can stretch that bloom window even longer.
Here’s what you need to know about timing, regional differences, and the simple tricks to keep your gaura flowering nonstop all season.
Natural gaura bloom time: seasonal patterns and climate influence
Gaura, also known as whirling butterflies or beeblossom, is a beloved perennial for its delicate, airy blooms that dance in the breeze. Understanding its natural bloom cycles helps you anticipate when to enjoy those pink, purple, or white flowers and how to extend their season.
Most varieties begin flowering in late spring, with some extending into early fall—but timing varies widely based on your climate zone and specific cultivar.
The primary bloom window for gaura typically spans from May through September, though early bloomers may start as soon as April in warmer regions. Late-season varieties can push blooms into October, especially in USDA Zones 7-10.
This flexibility makes gaura a reliable seasonal performer for gardeners seeking long-lasting color.
Climate plays a critical role in shifting bloom timing. In cooler zones (3-6), gaura often blooms later, starting in June and tapering by September. Meanwhile, in warmer zones (8-10), you might see blooms as early as March and lasting until November. Even within a single zone, microclimates—like urban heat islands or sheltered garden spots—can advance or delay blooming by 2-4 weeks.
Some gaura varieties, like Gaura lindheimeri, are continuous bloomers, producing flowers in succession without distinct peaks. Others, such as Gaura 'Siskiyou Pink', have two clear bloom cycles: a spring flush and a fall rebloom.
This variation means your garden’s gaura display can last 3-6 months, depending on the mix of cultivars you plant.
🌸
The early bloomers, like Gaura 'Candy Pink', often start in April and set the stage for a longer bloom season. These varieties are perfect for spring garden displays and pair well with tulips or daffodils.
In contrast, late bloomers such as Gaura 'Passionate Pink' shine in summer and fall, extending your garden’s season when many other perennials fade.
If you’re in a transition zone (like Zone 6b), you might experience uneven blooming due to temperature fluctuations. A late spring frost can delay blooms by 2-3 weeks, while a heatwave in summer may cause gaura to pause flowering briefly before rebounding.
To mitigate this, choose heat-tolerant varieties like Gaura 'Whirling Butterflies', which thrive in high summer temperatures.
Another key factor is day length. Gaura is a short-day plant, meaning it responds to decreasing daylight hours in late summer by producing more buds. This is why you often see a second bloom flush in fall, especially in Zones 7-10.
In northern climates, this fall rebloom may be shorter but still adds
How deadheading affects gaura rebloom time: science and techniques
When your gaura plants pause between blooms, deadheading is often the key to restarting their flower production. This technique stimulates new growth by removing spent blooms, which redirects the plant's energy toward producing fresh flowers instead of seed development.
Gaura naturally responds to this pruning by focusing on lateral buds, encouraging a second—or even third—flush of those signature airy, white or pink blooms.
Understanding the physiological response of gaura is crucial. When you leave seed pods on the plant, it prioritizes energy for seed production, delaying or preventing reblooms.
By deadheading at the right time—just as the blooms fade but before seed heads form—you signal the plant to shift its focus back to flowering. This process works best when combined with proper light exposure and watering practices, which we’ll explore further.
Aggressive vs. Selective Deadheading for Gaura
- Pros: Encourages dense reblooms
- Pros: Promotes taller stems
- Cons: Can stress young plants
- Cons: Requires frequent maintenance
- Pros: Less plant stress
- Pros: Slower growth (better for small gardens)
- Cons: May reduce bloom density
- Cons: Seed pods can form faster
For established gaura, aggressive deadheading every 2-3 weeks yields the best results. For young plants, opt for selective deadheading to avoid overstressing the plant.
Timing is everything when deadheading gaura. Aim to trim spent blooms within 1-2 days of them wilting. This prevents seed formation while keeping the plant’s energy focused on producing new buds.
I’ve found that deadheading in the morning hours allows the plant to recover more quickly, as it has the rest of the day to adjust to the pruning. Avoid cutting into the woody stems, as this can damage the plant’s structure.
One common mistake gardeners make is deadheading too late in the season. If you prune gaura after mid-summer, especially in cooler climates, the plant may not have enough time to produce new blooms before entering dormancy.
Instead, focus on deadheading through July and early August to maximize fall reblooms. In warmer zones, you can extend deadheading into September or early October, depending on your last frost date.
Frequency matters just as much as timing. For continuous bloomers, like the popular Gaura lindheimeri, deadhead every 7-10 days during peak bloom season. If you notice the plant looking leggy or overgrown, it’s a sign you’re not deadheading often enough.
On the flip side, over-pruning can lead to bare stems and reduced flowering. Strike a balance by observing your plant’s response and adjusting your schedule accordingly.
Pro tip: Use clean, sharp bypass pruners to make precise cuts just above a leaf node. This encourages bushier growth and more blooms.
If you’re dealing with a large gaura patch, consider using hand pruners or even your fingers for smaller stems—just be sure to sterilize your tools between cuts to prevent disease spread. With the right approach, your gaura will reward you with months-long blooms instead of a single, short-lived flush.